Changing the rotary encoder function on the Quefrency rev. 3 01 May 2021
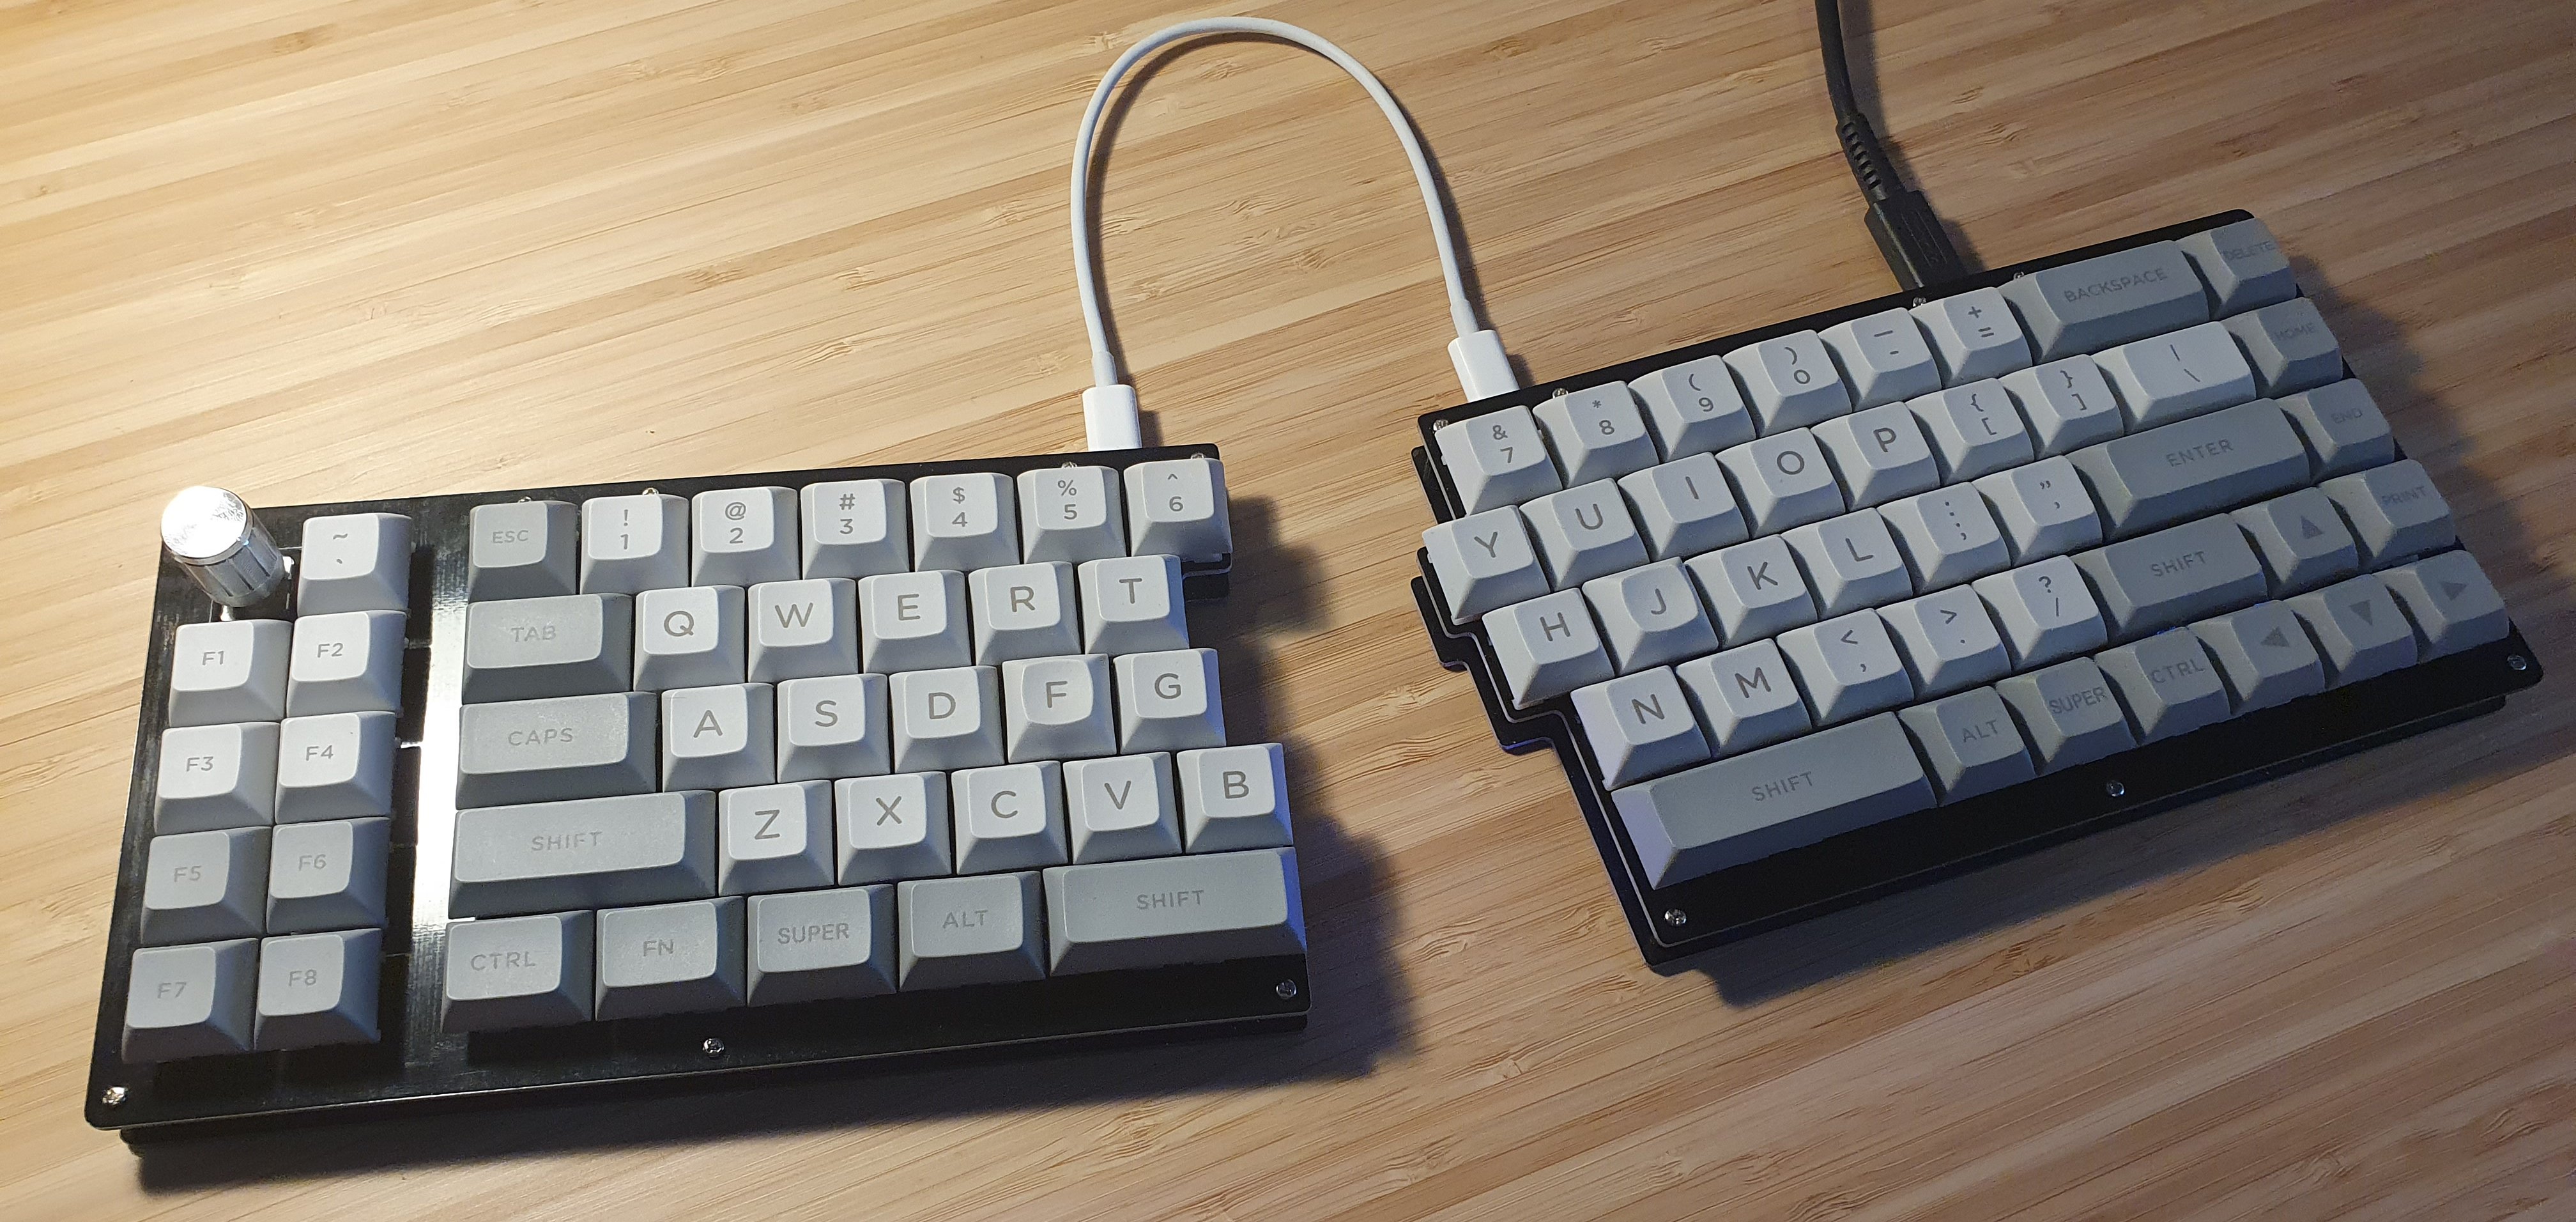
I recently built myself one of these keyboards, the Quefrency rev. 3, from Keebio.
It’s a split keyboard that uses an ATmega32u4 microcontroller and supports the popular QMK firmware.
There’s also a nice accompanying program, VIA, which can modify the keymap of your keyboard, and all kinds of other stuff, such as lighting and configuring what the different keyboard layers do.
But, VIA can’t change what the rotary encoders do. For that, you’ll have to modify the firmware and update your keyboard manually.
The Quefrency has support for two rotary encoders, one on the left board, and one on the right. On my board, I soldered one on the left and used a switch where the right one would be.
By default, the left rotary encoder is programmed to press the PgUp key on each step when rotating counter-clockwise and PgDown when rotating clockwise. This isn’t that useful, so I’ll change it to volume up and down.
We’ll look at how to set up an environment for building QMK, how to update the firmware on the board, and finally, see what kind of other functionality we can add.
Let’s start by looking at the QMK project.
1. Building QMK
For more detailed instructions, you should check out the docs. But I’ll give a TL;DR version here.
Start by cloning the QMK repository.
$ git clone https://github.com/qmk/qmk_firmware.git
$ cd qmk_firmware
QMK exposes encoder_update_user(), which is called every time an encoder
is turned one detent. To add encoder support, this function would be defined
in a keymap.c file in a keymap folder.
Luckily for us, there are already existing keymaps for the Quefrency in the QMK repository,
so we can modify one of those. The keymaps are in keyboards/keebio/quefrency/keymaps/.
We’ll use the via keymap since that’s the default one.
The file we’re interested in is located at keyboards/keebio/quefrency/keymaps/via/keymap.c.
When opening that file in a text editor, you’ll see that the encoder function is already defined.
// keymap.c
void encoder_update_user(uint8_t index, bool clockwise) {
    if (index == 0) {
        if (clockwise) {
            tap_code(KC_PGDN);
        } else {
            tap_code(KC_PGUP);
        }
    } else if (index == 1) {
        if (clockwise) {
            tap_code(KC_VOLU);
        } else {
            tap_code(KC_VOLD);
        }
    }
}
The index in this case refers to the encoder that is turned, on this board, 0 is the
left encoder. I’ll modify the code so that the left encoder also activates KC_VOLU (volume up)
and KC_VOLD (volume down).
// keymap.c
void encoder_update_user(uint8_t index, bool clockwise) {
    if (clockwise) {
        tap_code(KC_VOLU);
    } else {
        tap_code(KC_VOLD);
    }
}
Now, to build the binary for your keyboard, we’ll first have to compile the code.
First, change into the root directory of the repo and install the necessary
dependencies using the qmk_install.sh script that is provided.
$ ./util/qmk_install.sh
From there, check if the project compiles with:
# the target is <KEYBOARD>:<KEYMAP>
$ make keebio/quefrency/rev3:via
If you don’t encounter any issues, move on to the next step, which will cover how to upload the firmware.
2. Putting the Quefrency into DFU
To update the firmware on this board, you’ll first have to put it into what’s called DFU (Device Firmware Upgrade) mode, which allows you to flash new firmware over USB. For the ATmega32u4, this can be accomplished by shorting a special RST pin when powering the device.
The Quefrency has a button on the bottom of the board for this pin. Which you can see here.
If you’ve already assembled the keyboard with the FR4 plates from Keebio, there’s a small hole in the bottom plate to access the RST button. The easiest way I’ve found to press the button is with a sim card ejector.
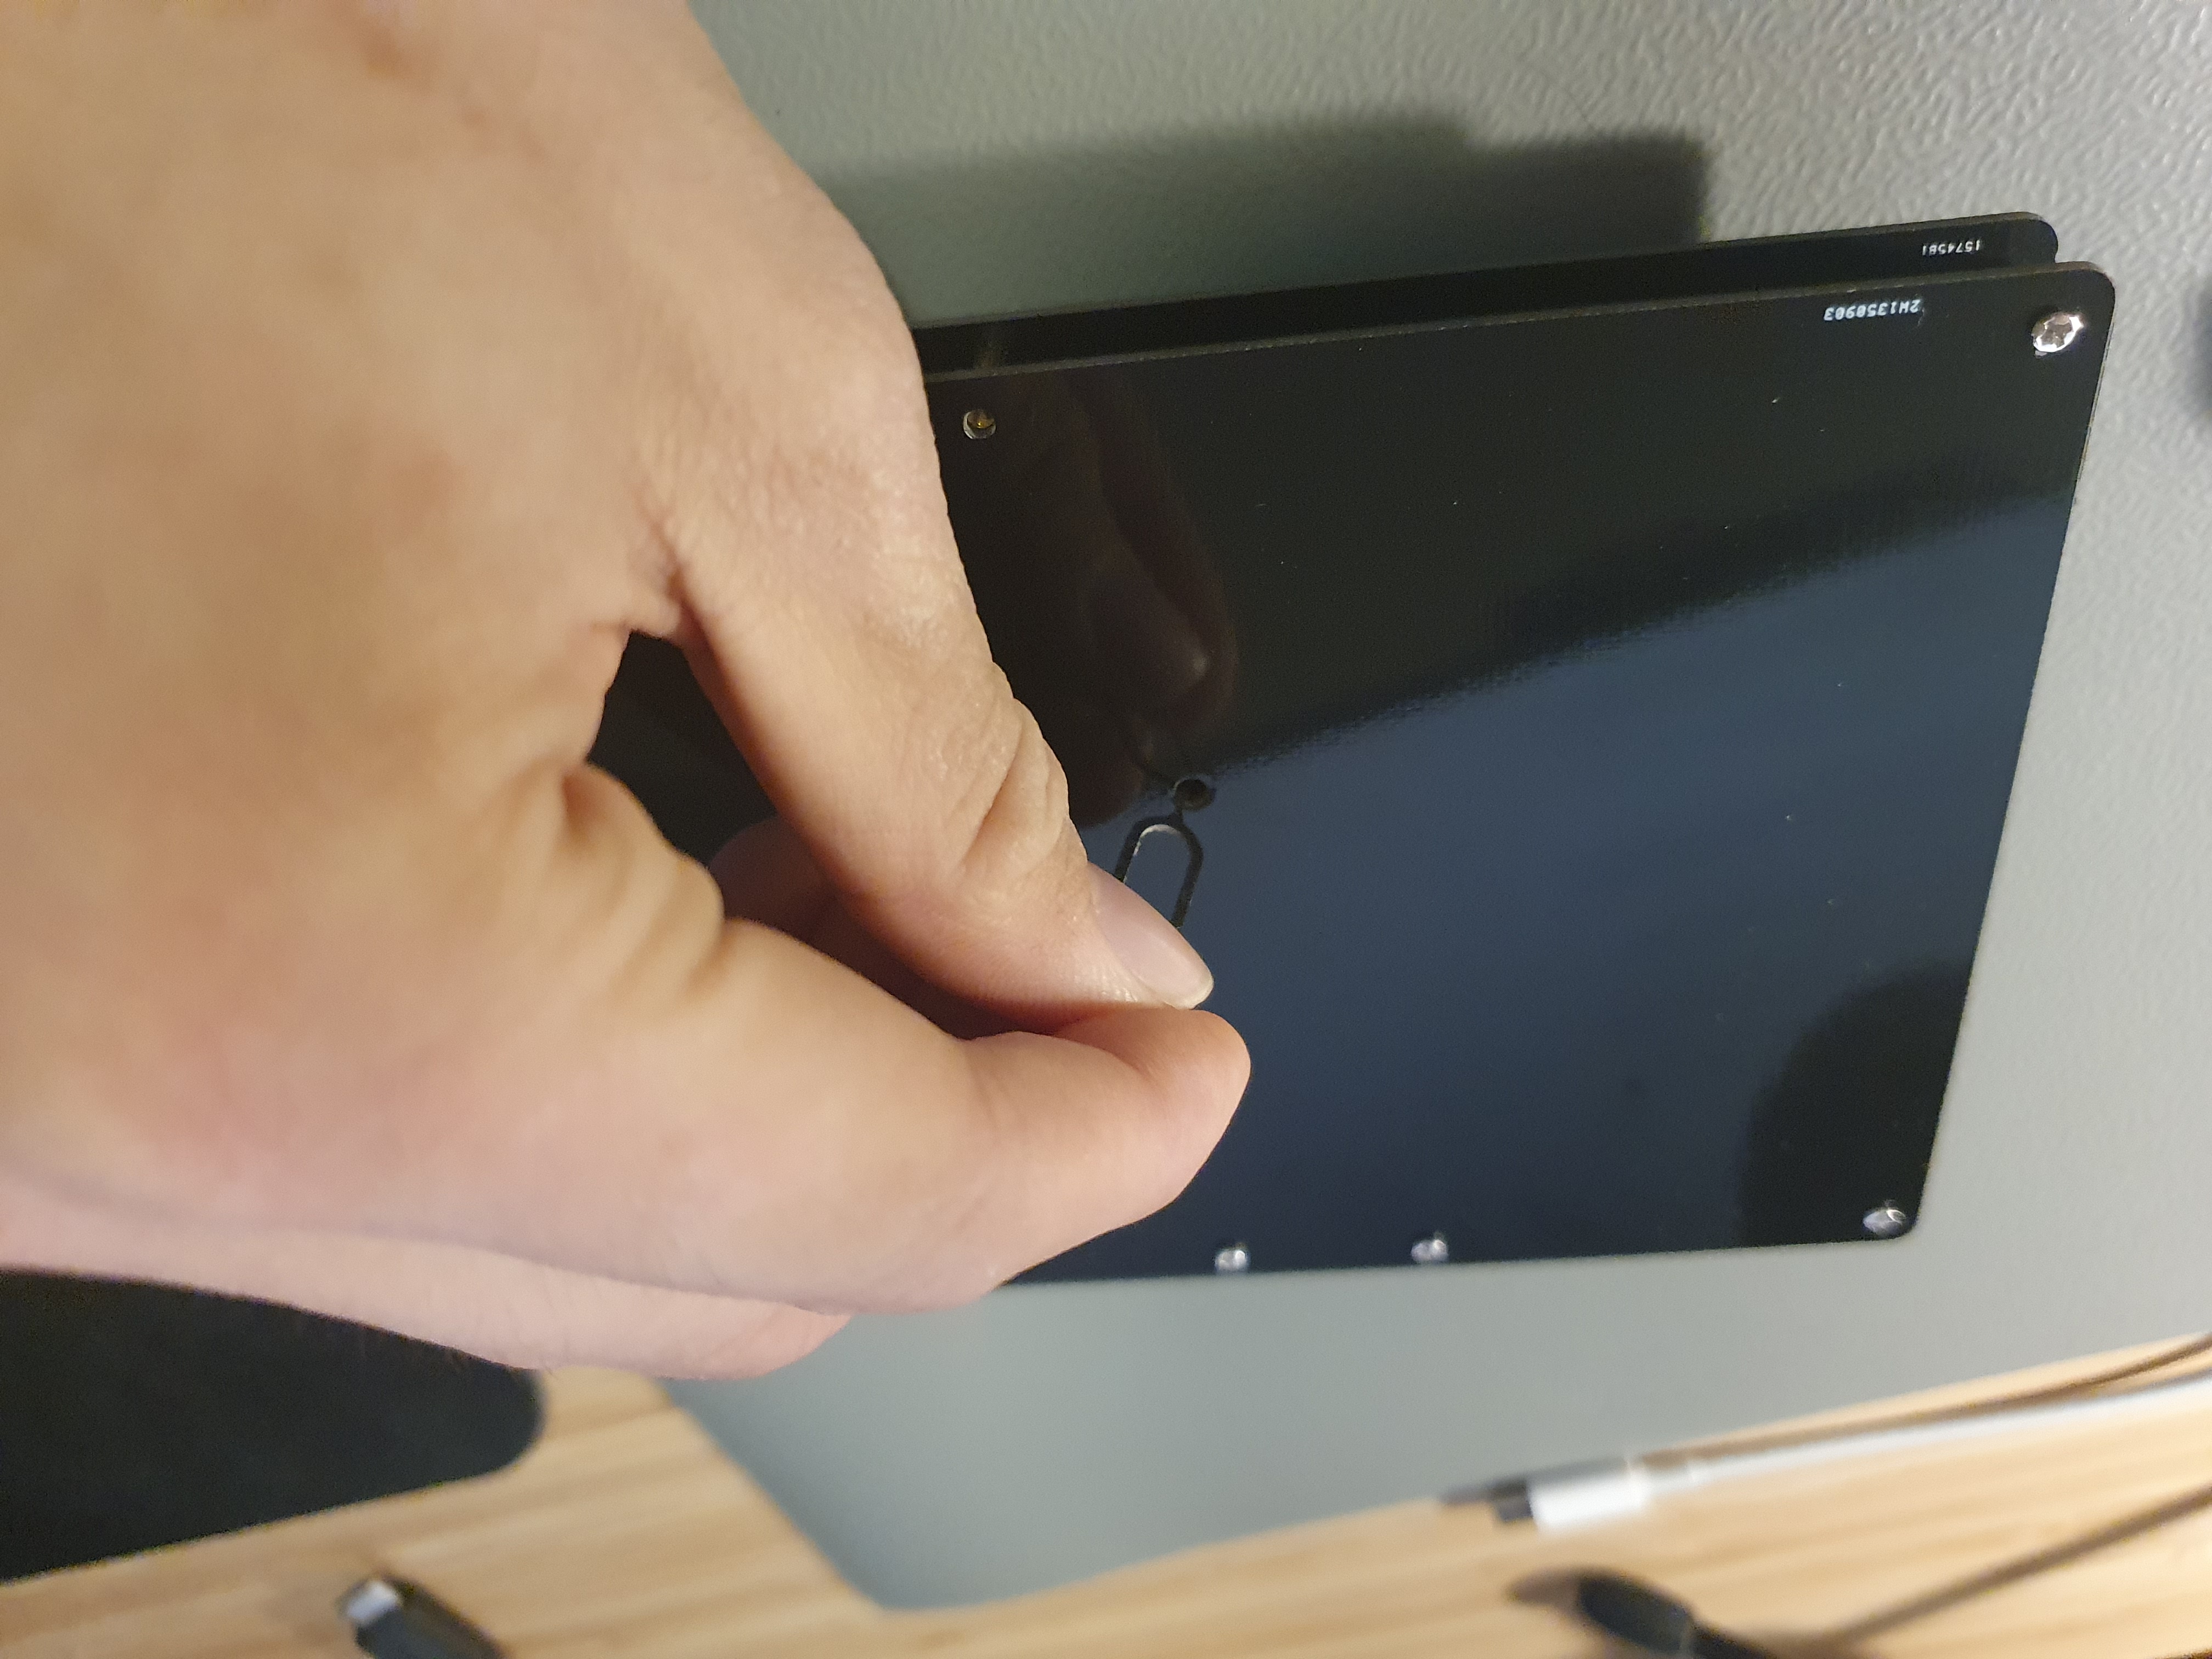
Note, the board that you should flash should be your “main” board, i.e. the one that’s plugged into your computer via USB, in my case, this is my right board. To put the board into DFU, press and hold the RST button and plug the USB cable into the port that connects to your computer while still holding the button, you can then release the button.
The underglow LEDs won’t be powered if it’s in DFU, if you’re on Linux you can also check that the device is in DFU
by using lsusb. You should see a device called Atmel Corp. atmega32u4 DFU bootloader.
$ lsusb
...
Bus 001 Device 012: ID 03eb:2ff4 Atmel Corp. atmega32u4 DFU bootloader
...
3. Flashing your newly built firmware
Now you can build and flash QMK on the board with:
$ make keebio/quefrency/rev3:via:flash
If it fails while complaining about permission errors, you can
either add a udev rule for this device or run the previous command
with sudo. Don’t forget to install the dependencies from step 1 for the superuser
account if doing so.
If flashing was successful, the board should restart, and turning the encoder should change the volume.
Now that we’ve seen how to set up and change the firmware, let’s look at adding more functionality.
Multiple encoder modes
Rotary encoders are also clickable, pressing the encoder button presses the key it’s on top. We could use this for changing what the rotary encoder does. For example, we could also use the encoder to scroll up or down, essentially using it as a scroll wheel.
Let’s try adding a new mode where the encoder turns the mouse scroll wheel. Before that, we’ll need to define the different encoder modes and have a way to track which one we are currently using.
// keymap.c
enum Mode {
  VOLUME,
  SCROLL,

  // Useful for tracking the total nr of modes
  _NUM_MODES,
};

static enum Mode cur_mode = VOLUME;
Next, let’s define the key for the encoder button. QMK supports custom key codes. But for simplicity, we’ll use an existing key.
// keymap.c
static const uint16_t TOGGLE_KEY = KC_MHEN;
Which is the beautiful “JIS Muhenkan” key.
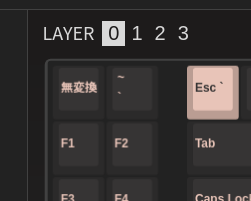
You can either configure this in VIA (which I’ve done here), or change it in the keymaps value.
We can modify our encoder function to press different keys, depending on which mode we’re using.
In SCROLL, we want to scroll the mouse wheel up and down (with the KC_MS_WH_DOWN and KC_MS_WH_UP keys).
And in VOLUME, the encoder should turn the volume keys.
void encoder_update_user(uint8_t index, bool clockwise) {
    switch (cur_mode) {
        case SCROLL:
            tap_code(clockwise ? KC_MS_WH_DOWN : KC_MS_WH_UP);
            break;

        case VOLUME:
            tap_code(clockwise ? KC_VOLU : KC_VOLD);
            break;

        // optionally add more modes

        default:
            break;
    }
}
The only part that we have to implement is changing cur_mode when the KC_MHEN key is pressed.
You can give QMK a callback that gets called on keypress. We can use this to check if our toggle key has been pressed.
Let’s define process_record_user() and make it increment our current mode when KC_MHEN is triggered.
// keymap.c
bool process_record_user(uint16_t keycode, keyrecord_t *record) {
    if (keycode == TOGGLE_KEY && record->event.pressed) {
        cur_mode = (cur_mode + 1) % _NUM_MODES;

        // Returning false indicates that
        // this key should not be processed further
        return false;
    }

    return true;
}
With this, we can compile and reflash the board.

And, there we have it.
Appendix: Source code
#include QMK_KEYBOARD_H

enum Mode {
  VOLUME,
  SCROLL,

  // Track the amount of modes
  _NUM_MODES,
};

static enum Mode cur_mode = VOLUME;

static const uint16_t TOGGLE_KEY = KC_MHEN;

const uint16_t PROGMEM keymaps[][MATRIX_ROWS][MATRIX_COLS] = {
  ...
};


bool process_record_user(uint16_t keycode, keyrecord_t *record) {
    if (keycode == TOGGLE_KEY && record->event.pressed) {
        cur_mode = (cur_mode + 1) % _NUM_MODES;
        return false;
    }

    return true;
}

void encoder_update_user(uint8_t index, bool clockwise) {
    switch (cur_mode) {
        case SCROLL:
            tap_code(clockwise ? KC_MS_WH_DOWN : KC_MS_WH_UP);
            break;

        case VOLUME:
            tap_code(clockwise ? KC_VOLU : KC_VOLD);
            break;

        default:
            break;
    }
}